Hanging art and family photo’s can be very intimidating. How to group them together properly, getting them straight and what tools to use can be enough to make us put this task off…indefinitely!
Here are some quick tips to make the process painless and the outcome perfect!
A Nail is Enough. Unless your art is large and heavy the average frame (that hold 8×10 Photo’s) needs nothing more than a nail to keep it hanging (not little tiny finishing nails but not the huge 2 inch either). The thought of pulling out the drill and using plastic anchors is enough to make anyone say “forget it”, but for smaller photo’s this isn’t necessary! If your frames shift on the wall, a little tic tac or even folded up tape will keep them from moving around!
Buy a Hang and Level Picture Hanging Tool. These things work with many different hanging hardware and mark the wall in the perfect spot to put the nail. No more measuring, or putting dozens of holes in your walls! For under $20, this is a MUST HAVE in every home!
Hang your pictures at eye level. The number one decorating mistake is hanging pictures too high, and almost everyone does it! The center of your picture should be directly at eye level of the average 5 foot 7 person… A couple of inches won’t make a huge difference, but if your pictures are hung too high your room will look “off” no matter what you do!
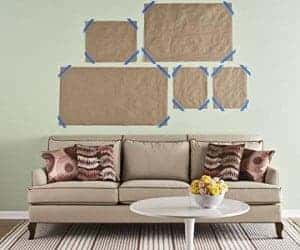
Lay out your pattern first. If you are hanging a grouping of pictures, lay them out on the floor first to get them exactly how you want them. I also recommend using a large roll of paper (even old wrapping paper works) to trace the exact size of the picture. Cut them out and them attach to the wall using painters tape (won’t peel paint off walls). You can also mark the paper where the hanger is and then nail right through the paper to ensure your pictures will be perfect.
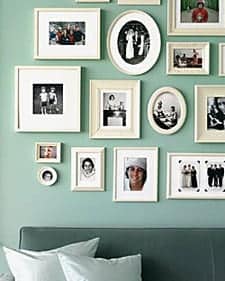
Keep the frames the same colour. If you want to hang a large grouping of photo’s, keeping all the frames the same colour will help to keep your wall from looking cluttered. There is no need to run out and buy all matching frames. A quick coat of spray paint will unify all the old frames you have laying around your home! Just be sure to take the glass out before spraying!
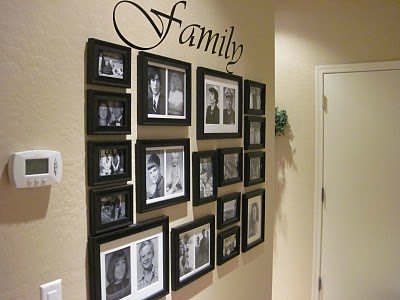
Line them up. For a fool proof way to have your photo wall looking picture perfect, line up all the bottoms or the tops of the picture frames (whichever you prefer). If you are looking to hang a large number of photo’s, create two rows with the top picutres lining up along the bottom and the bottom pictures lining up at the top. This essentially creates a straight line down your wall. Here is a photo that explains this much better than I ever could!
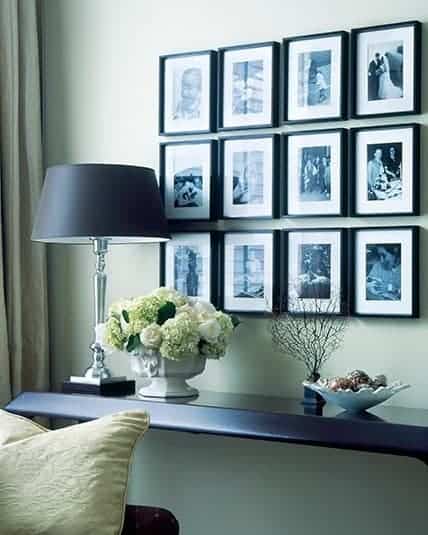
Use Symmetry for a Clean, Contemporary Look. Frames that are all the same size, colour and shape will give your photo’s uniform look and make them pop. Hang them together to make a square or rectangle or hang them in rows of three, five or seven for a symmetrical look.
Just Hang them Already! If you have been putting off hanging up pictures or art, what are you waiting for? In under a half an hour you can transform your space just by hanging a few of your cherished family photo’s! Don’t know where to start? First choose a style of display you want. Do you want family photo’s in all different size and shape frames? Do you want them all the same size and shape? Next you buy the frames before you print the pictures. You want to do this in case you find a set of frames on sale one some that you fall in love with. Pictures can be printed to any size but you are more restricted with the frame. Now lay out your frames on the floor and make notes of the picture sizes you need. Go through your photos, select the ones you love and have them printed in the sizes you require!
Happy Decorating!


