What I have discovered this week is that sharing a room with a sibling is harder on the parents than it is on the kids, at least for me. I feel a sense of guilt. It would be different if they always had shared a room, but taking away their own personal rooms and having them share did make me feel awful. It didn’t help that my youngest cried and begged me for her room back for the first night, it was a long and emotional first night for Mommy.
I did try my best to give them the most personalized room I could that met both of their wants and needs. Izzy wanted a fairy room. Abby wanted a princess room. We agreed on a “fairy princess” theme. Izzy wanted a purple room and Abby wanted pink, so we agreed on a pink and purple colour theme. Usually I wouldn’t really give them a say, they are 3 and 5 and really too young to get to decorate their own room, but my Mommy guilt drove me to extremes. I wanted their room to be magical for them, hoping they would forget what they were losing and only see what they were gaining during the transition.
Here is what I learned. Kids really don’t care about the details and they adapt to new things….fast. All the little things I did to try and make their room special ended up not mattering much to them in the end, but it does make me feel better about the whole thing.
So here are some pictures of their new room along with some ideas I used to make it pretty on a small budget!
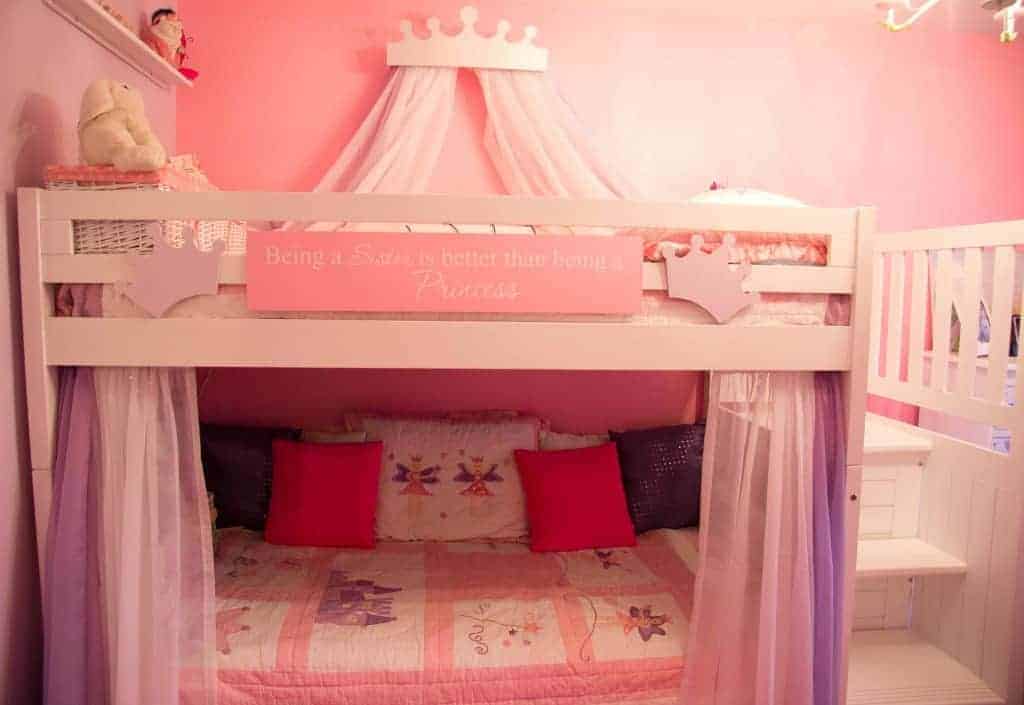
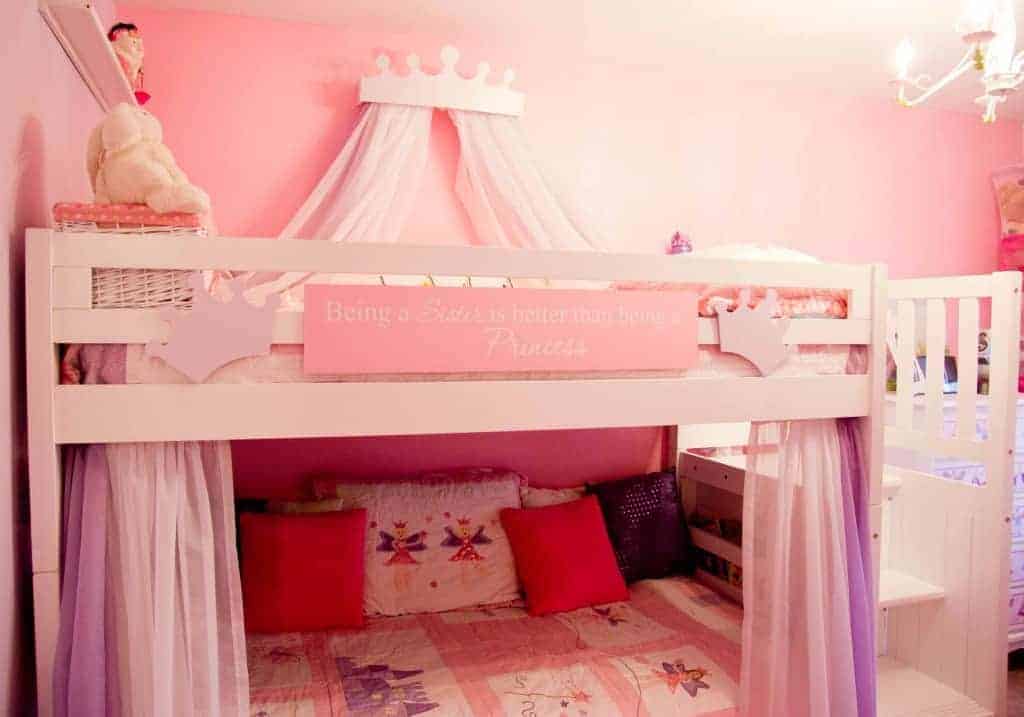
We saved a lot of money by buying a bare bones, basic bunk bed. You can spend a fortune on bunk beds! Furniture stores have beautiful and elaborate beds and we even considered making our own, but truthfully, we have no idea how long they will share a room and it seemed crazy to spend a lot of money on a kids bed. We instead opted to dress up these cheap bargain beds with a $20 crown canopy and some homemade wood pieces which we used industrial strength velcro to attach! The sign cost me under $2 to make! The crown canopy was purchased from this shop on Etsy.com. The sign was just a piece of $2 wood painted with vinyl words stuck on! I was able to order the custom vinyl saying from A Lasting Expression from Etsy. The purple crown cutouts were ordered from Pam and Bob’s Etsy store. Did I mention I love Etsy?
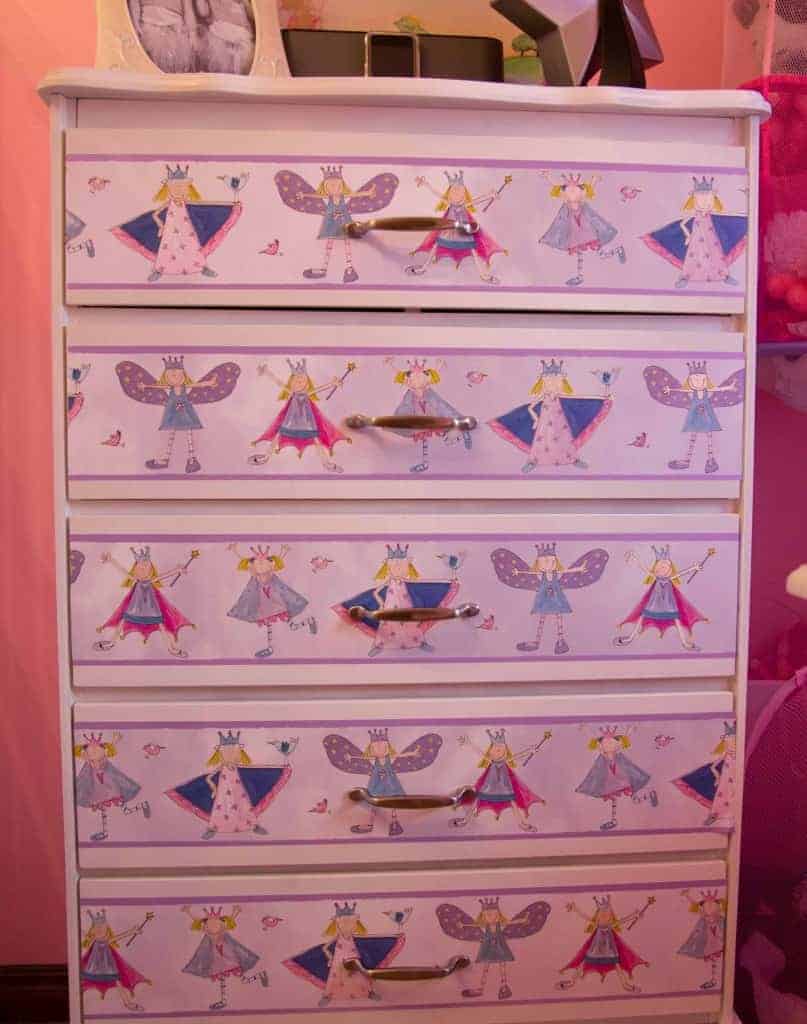
This dresser is a perfect example of reusing what you have! I bought this dresser used for $10 years ago and keep changing it based on the room with peel and stick border! For around $5 you can apply peel and stick border in any design, colour or pattern to the front of the dresser and it peels off without damaging the dresser when you want to move it to another room or change the theme!
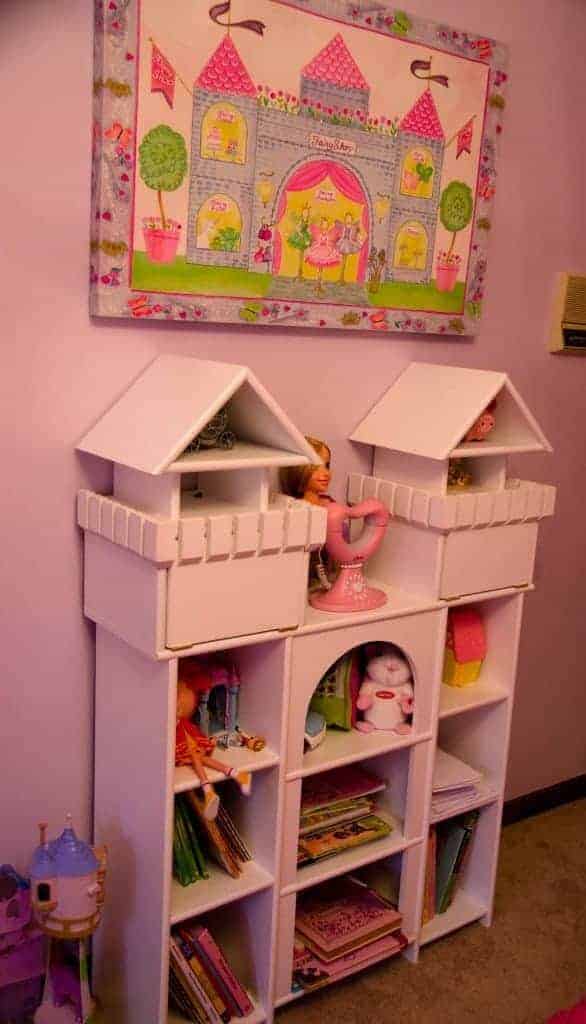
I love theme rooms, but even I know it’s pretty lame in any room besides a kids room! That is probably why I go a little “theme” over board with kids rooms! Crowns, fairies and castles…Oh My! It makes for easy decorating, that’s for sure. I found great artwork with fairy princesses from Homesense for under $30! An easy way to tie a room together without any planning or thought required!
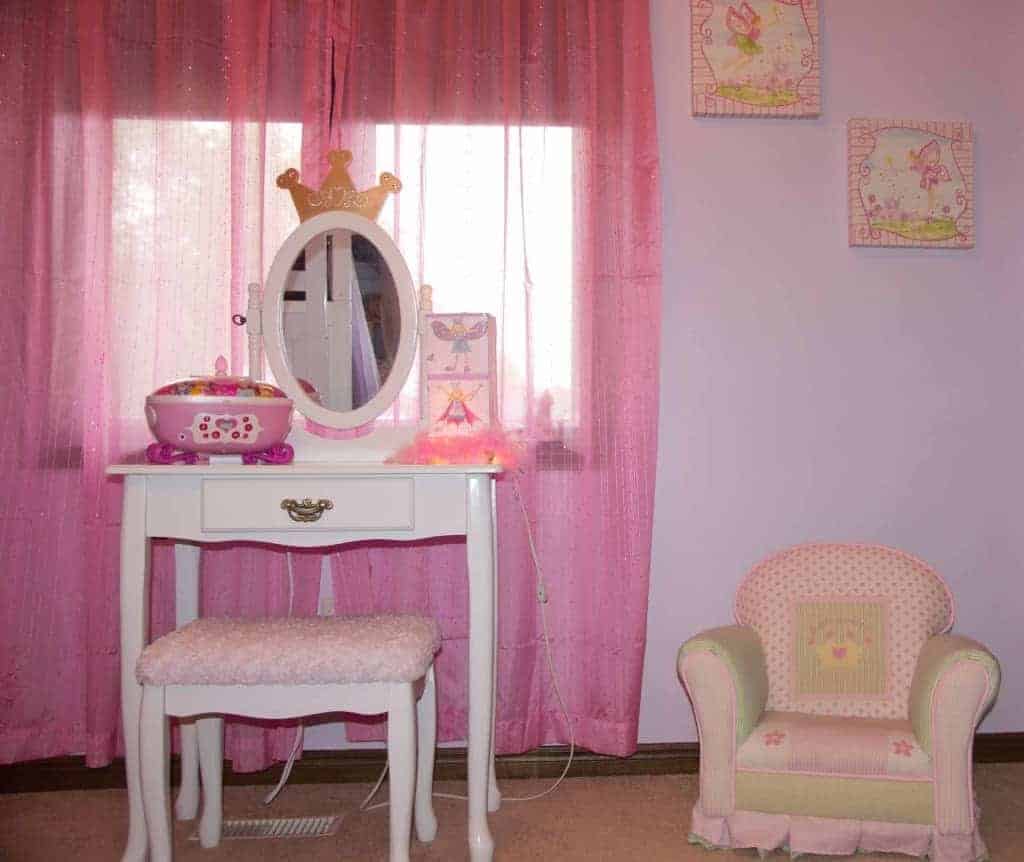
I used left over peel and stick border to cover this old paper lamp! My Dad dressed up this vanity table by painting it white, velcroing on a crown and recovering the seat!
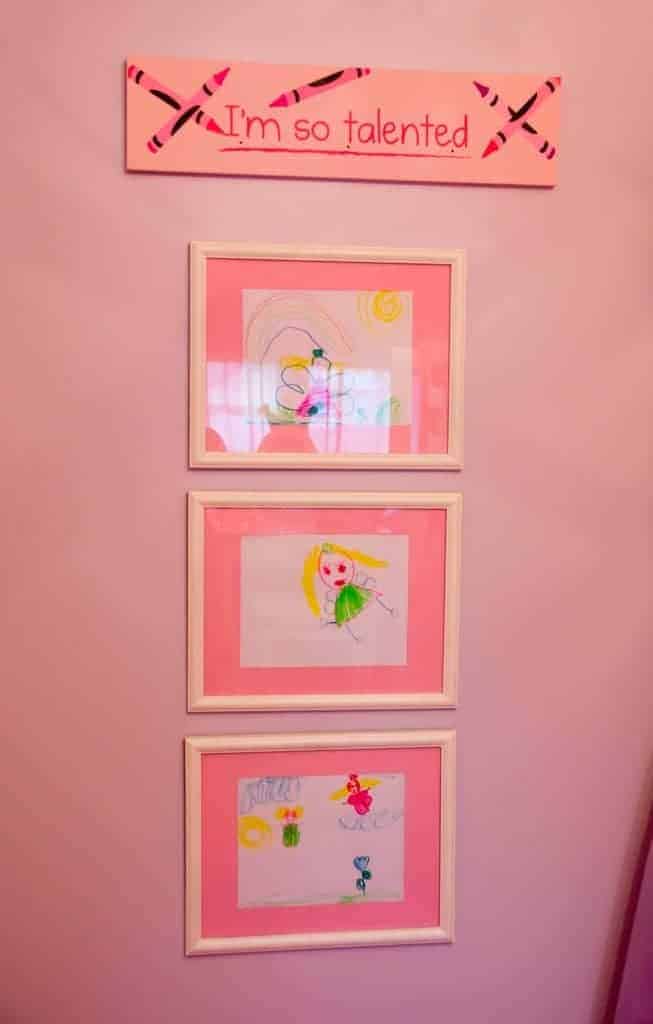
This is probably one of their favourite parts of their room and it cost me $3! I simply bought dollar store frames, painted them white and the matting pink and let the girls create their own art!
Abby loves the curtains on her lower bunk. My husband simply hung an inexpensive $6 curtain rod underneath and we used old sheers we already had! She loved pulling them shut and having alone time in her “fort”. I recommend this for all bunk beds! It’s cheap and easy to do and provides hours of fun.
Now that the girls room is done, I can’t wait to start on the baby’s nursery!


